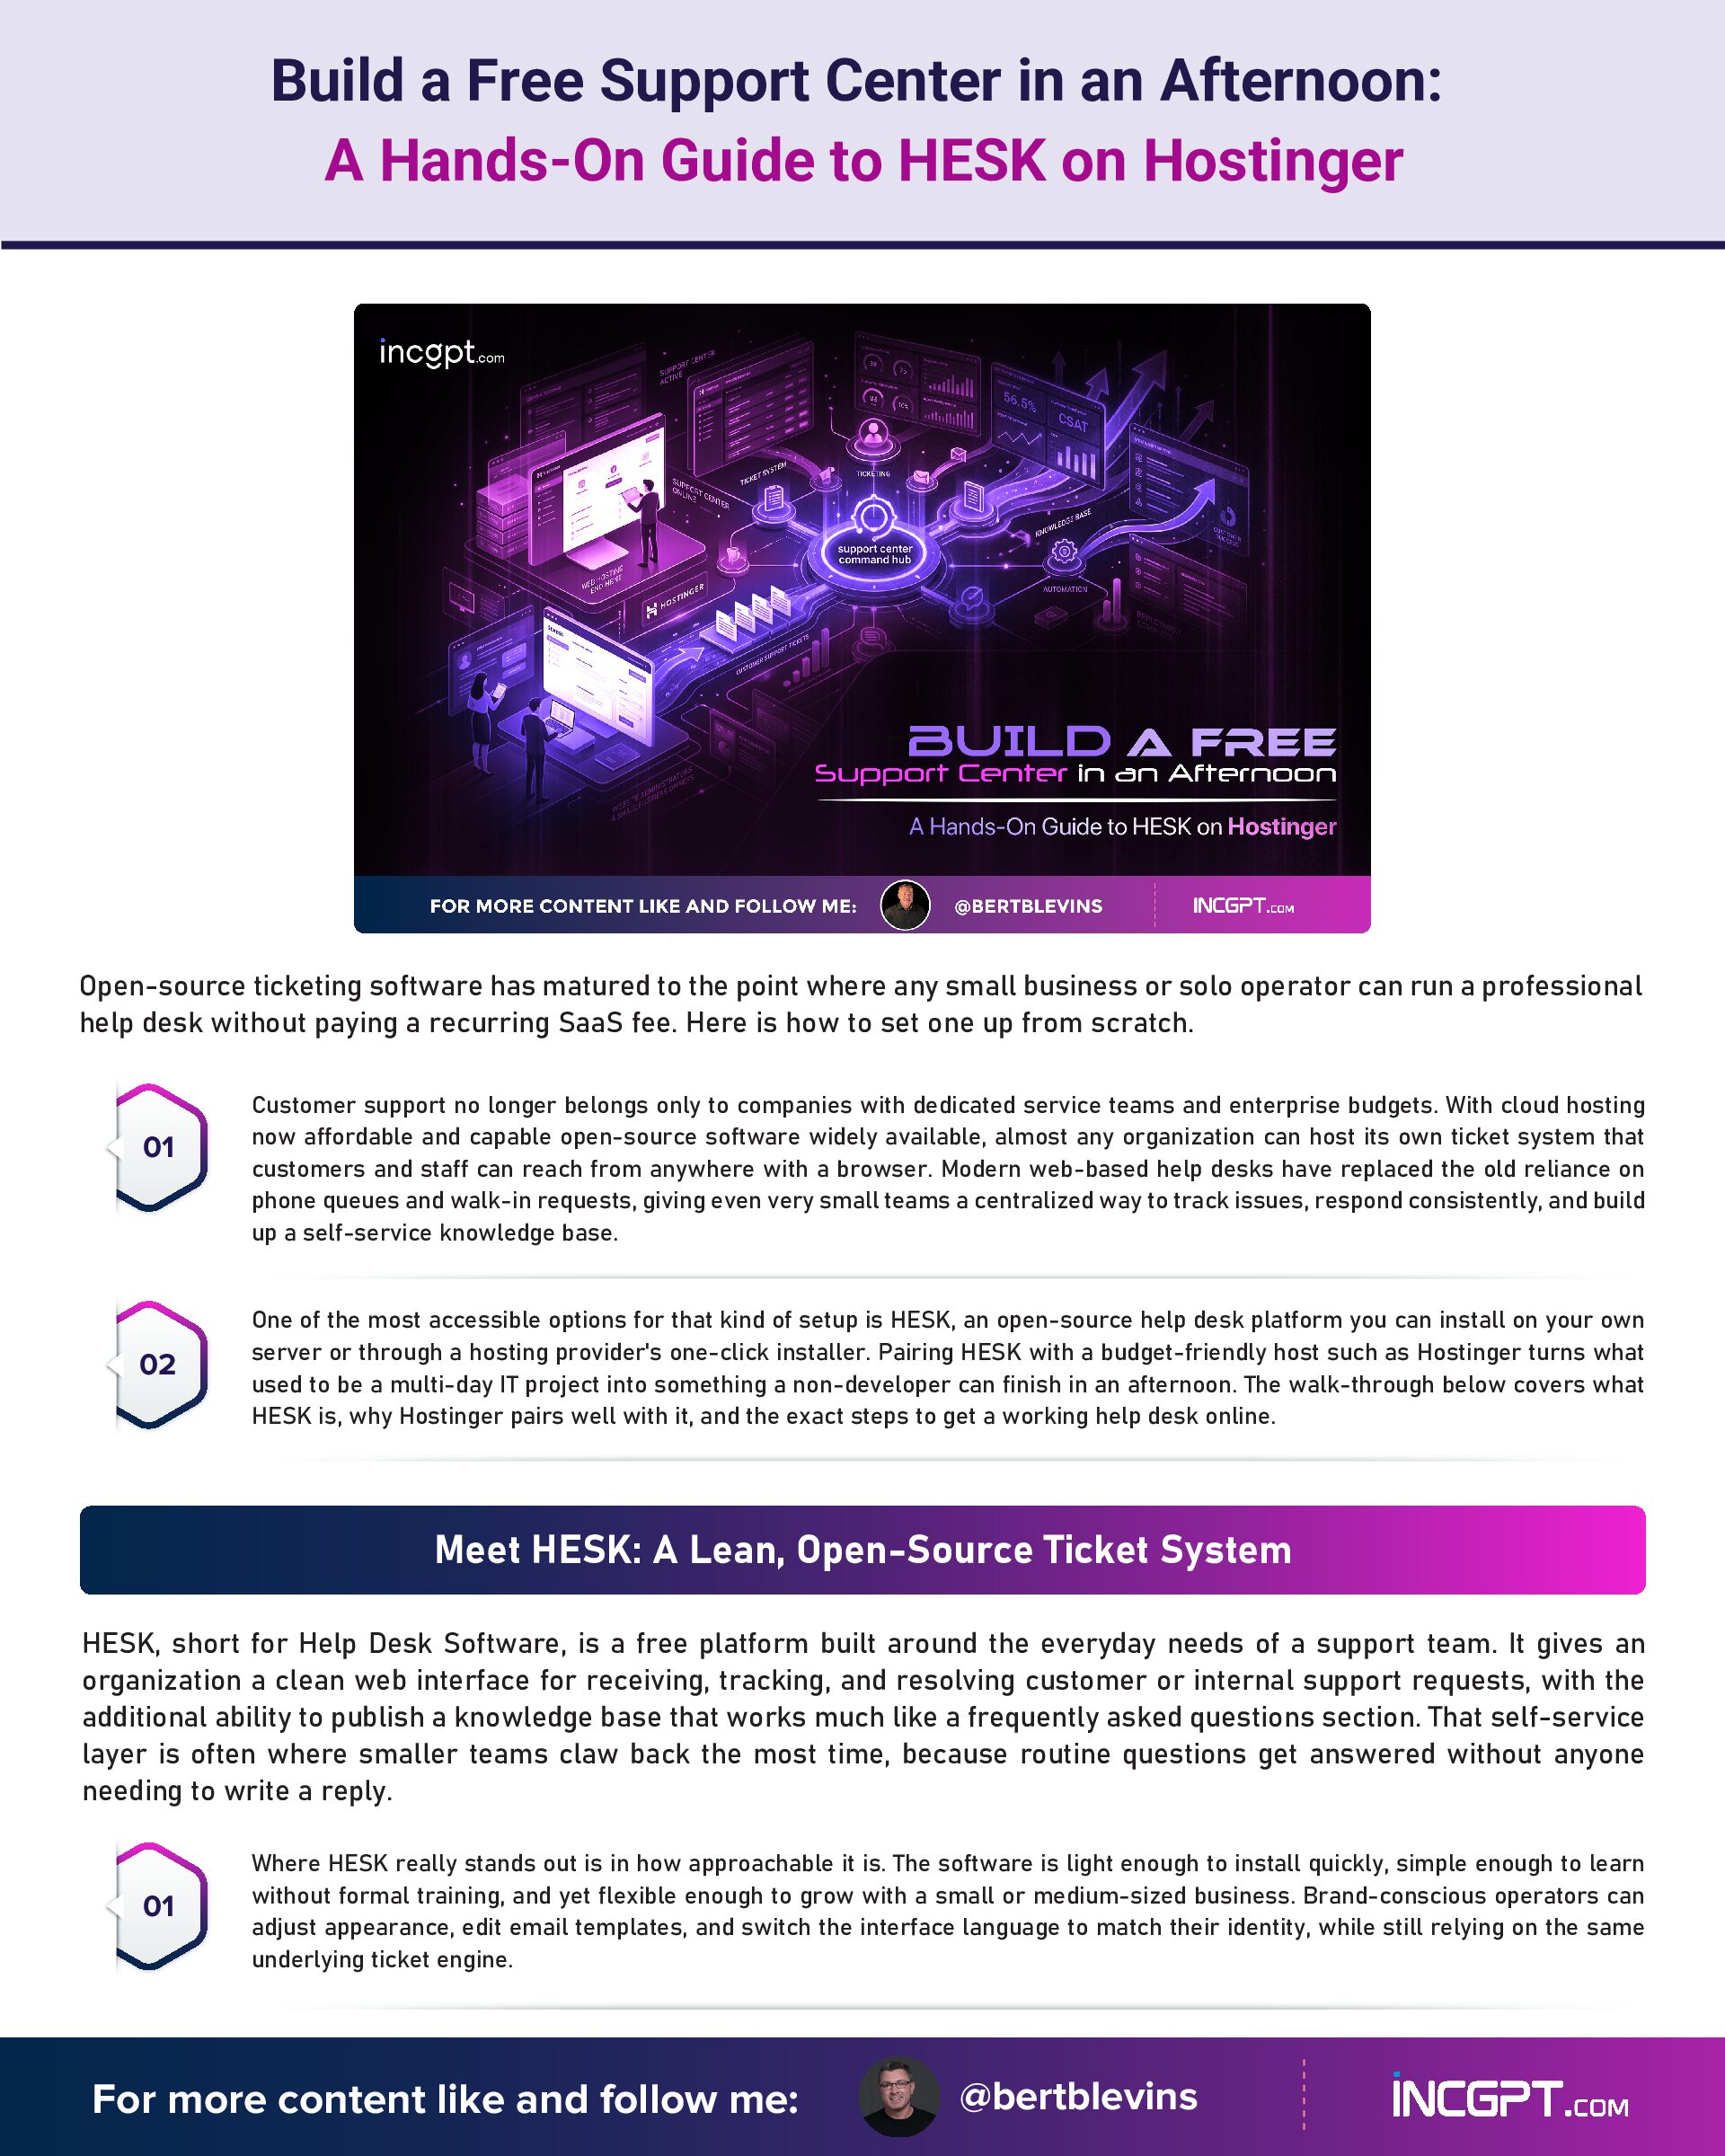
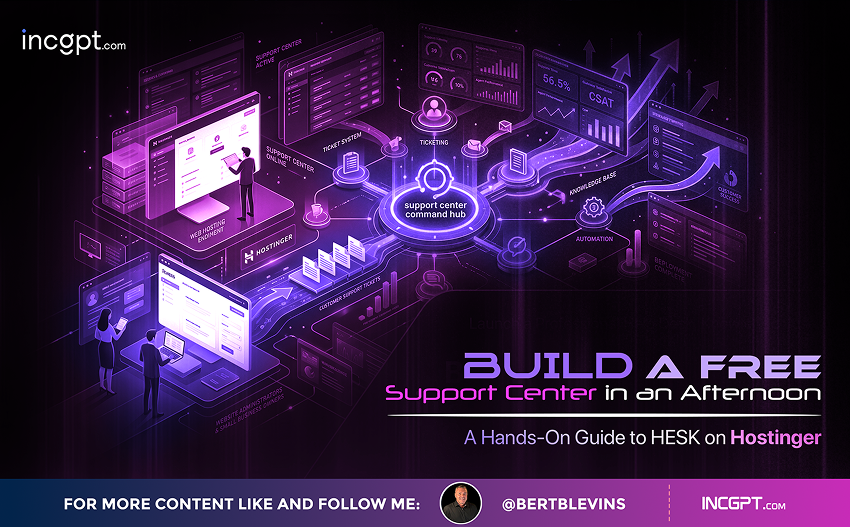
Build a Free Support Center in an Afternoon: A Hands-On Guide to HESK on Hostinger
Open-source ticketing software has matured to the point where any small business or solo operator can run a professional help desk without paying a recurring SaaS fee. Here is how to set one up from scratch.
Customer support no longer belongs only to companies with dedicated service teams and enterprise budgets. With cloud hosting now affordable and capable open-source software widely available, almost any organization can host its own ticket system that customers and staff can reach from anywhere with a browser. Modern web-based help desks have replaced the old reliance on phone queues and walk-in requests, giving even very small teams a centralized way to track issues, respond consistently, and build up a self-service knowledge base.
One of the most accessible options for that kind of setup is HESK, an open-source help desk platform you can install on your own server or through a hosting provider’s one-click installer. Pairing HESK with a budget-friendly host such as Hostinger turns what used to be a multi-day IT project into something a non-developer can finish in an afternoon. The walk-through below covers what HESK is, why Hostinger pairs well with it, and the exact steps to get a working help desk online.
Meet HESK: A Lean, Open-Source Ticket System
HESK, short for Help Desk Software, is a free platform built around the everyday needs of a support team. It gives an organization a clean web interface for receiving, tracking, and resolving customer or internal support requests, with the additional ability to publish a knowledge base that works much like a frequently asked questions section. That self-service layer is often where smaller teams claw back the most time, because routine questions get answered without anyone needing to write a reply.
Where HESK really stands out is in how approachable it is. The software is light enough to install quickly, simple enough to learn without formal training, and yet flexible enough to grow with a small or medium-sized business. Brand-conscious operators can adjust appearance, edit email templates, and switch the interface language to match their identity, while still relying on the same underlying ticket engine.
Beyond the basics, HESK ships with a useful set of workflow tools. Email piping converts incoming messages into tickets automatically, custom fields let teams capture the right context at the moment a request is submitted, and ticket assignment routes work to the appropriate staff member or department. Together those features turn a generic inbox into a structured queue that scales with the volume of inquiries.
Why Hostinger Is a Natural Home for HESK
Hostinger is a long-running web host that focuses on giving individuals and small businesses a low-cost route to running their own websites and applications. The company offers a full lineup of hosting products, from shared plans that handle WordPress installs to virtual private servers for heavier workloads, with a published 99.9 percent uptime target.
Founded in 2004, Hostinger built its reputation on combining affordable pricing with a beginner-friendly control panel called hPanel. The dashboard is designed so that someone managing their first website does not have to learn server administration to get a domain pointed, an SSL certificate installed, or a database connected.
The standout feature for projects like this one is Hostinger’s Auto-Installer. Instead of manually downloading software, uploading files over FTP, and provisioning a database, users pick the application they want from a menu and click through a short setup wizard. The Auto-Installer covers a wide range of platforms, including content management systems such as WordPress, Joomla, and Drupal, plus storefronts, customer relationship managers, billing tools, and, most relevantly, HESK.
Step-by-Step: Installing HESK Through Hostinger's Auto-Installer
Setting up HESK on Hostinger takes only a few minutes once you know where the controls live. The flow below assumes you already have an active Hostinger plan and a domain or subdomain pointed at your hosting account.
Sign in to Hostinger and open the main account dashboard. From the left navigation, choose Websites, then click Dashboard next to the site where you want HESK to live. With the site dashboard open, head back to the Websites menu in the left sidebar and select Auto Install. On the Auto-Installer screen, look under the Other category and click Select. From the dropdown, pick HESK and confirm your choice.
From here, the installer asks for the details that will define your help desk. You will enter a website title, an administrator email address, an administrator username, and an administrator password. It is worth pausing here to choose strong values, because these credentials are what protect the back end of your support system.
Many users find it cleaner to install HESK in a subdirectory of their primary site rather than at the root. To do that, click Advanced in the installer and type a directory name, such as helpdesk or support, into the subdirectory field. Make sure to also create a fresh database for HESK and assign it a unique password. Once those fields are filled in, run the installer and Hostinger handles the rest of the heavy lifting, including spinning up the database for you.
Opening the Door for the First Time
After the Auto-Installer finishes, your help desk is live, but it is not yet ready to take real tickets. The first visit is essentially a setup walk-through. Open the URL where you installed the software. If you placed it in a subdirectory, that will look something like http://www.yourdomain.com/HESK. On the landing page, click the link labeled Go to the Administration Panel.
Logging in for the first time should be done with the credentials you created during installation. Before doing anything else, treat security as the top priority. Replace the default Administrator username and admin password with strong, unique values, and update your administrator profile with your real name, email address, and a default signature so outgoing replies look professional.
Configuring General Settings the Right Way
With the basics locked down, move into the General Settings area of the admin panel. This is where you confirm your help desk’s website URL and visible title, and where you can rename two folders that ship with predictable defaults. Renaming the admin and attachments folders is a small but worthwhile hardening step, since attackers often probe for default paths first.
This section also lets you adjust the number of tickets shown per page, turn on anti-spam protections, and tune other small details that influence how the system feels to use day to day. None of these settings are dramatic on their own, but spending a few minutes here saves friction later.
Email Plumbing: The Most Important Configuration Step
If there is one place to slow down and get things right, it is the Email Settings panel. HESK relies on a working mail configuration to send notifications, deliver replies, and convert incoming messages into tickets. You will need to provide credentials for an outbound SMTP server and choose between POP3 and IMAP for inbound mail, depending on your provider.
If your hosting environment supports it, also enable email piping. With piping turned on, any message sent to your support address is converted directly into a new ticket without anyone manually opening a mailbox. While in this section, double-check that the From address and the From name on outbound mail are clearly set, since those values are what your customers see when they receive replies from your team.
Tailoring HESK to How Your Team Actually Works
With email working, the rest of the setup is about shaping HESK around your real support process. Start by creating categories that map to the departments or topic areas you want tickets routed into, such as billing, technical issues, or account questions. Then add staff accounts, granting each person only the permissions they need. Smaller permissions mean fewer accidental missteps.
Next, begin populating the knowledge base. Even a handful of well-written articles covering your most common questions can deflect a meaningful share of incoming tickets, freeing up agents for the harder cases. To speed up replies on the cases that do come in, build a library of canned responses for inquiries that repeat often. Custom fields on the ticket submission form let you collect the right details up front, and a quick pass through the ticket formatting and attachment settings ensures messages render the way you want and that file uploads stay within reasonable limits.
or topic areas you want tickets routed into, such as billing, technical issues, or account questions. Then add staff accounts, granting each person only the permissions they need. Smaller permissions mean fewer accidental missteps.
From Installation to a Working Support Operation
Run through these configuration areas in order and you end up with a help desk that looks and behaves like something a much larger organization would deploy. The combination of HESK’s open-source flexibility and Hostinger’s Auto-Installer removes most of the traditional friction around setting up a ticketing system. There is no licensing fee, no proprietary lock-in, and no SaaS subscription quietly compounding every month.
or topic areas you want tickets routed into, such as billing, technical issues, or account questions. Then add staff accounts, granting each person only the permissions they need. Smaller permissions mean fewer accidental missteps.
For a solo operator, a small team, or an internal IT group at a growing company, that is a meaningful shift. A capable support center is no longer a budget line item that has to be justified. It is a weekend project that, once finished, keeps paying back in faster responses, fewer dropped tickets, and a knowledge base that quietly does part of the work for you.
or topic areas you want tickets routed into, such as billing, technical issues, or account questions. Then add staff accounts, granting each person only the permissions they need. Smaller permissions mean fewer accidental missteps.